How to change your engine oil in 8 easy steps
Regularly changing your engine oil is one of the most important things you can do to keep your car running efficiently. Over a period of time, your oil will break down and your filter will become blocked with contaminants. Depending on how much you drive, your style of driving and the type of vehicle that you drive, the timeline for changing your oil will vary.
Now, for the good news. Changing your engine oil is simple enough for the regular car owner to do at their own home in just about the same time as the mechanic.Here are 8 quick steps to help you in changing your engine oil.
The right tools for the right job.
Before you begin, ensure that you have all the right equipment you need to do the job quickly and correctly. You’ll need an oil filter, an old bucket or draining pan to collect the runoff and recycle it.Check you have the correct sized spanners to ensure that removing the old filter is as easy as possible. You’ll also want the proper oil for your car, this can be done through our which oil app or you can find in your owner’s handbook. Bring a funnel to pour in your new oil and a wheel jack or wheel ramps so you can get under your car safely.
Warm it up.
The next step will see you applying the handbrake and leaving the car in neutral. Run the car for about 5 to 10 minutes so you can let the engine heat up, then immediately shut it down. This will allow the oil to move out of the engine faster and considerably easier.
Drain it.
After you have heated up the car and ensured that it is safe to proceed, remove the old oil. Place a pan or a bucket underneath the oil drain plug, loosen its bolt with your spanner and remove the plug. Since you heated up the oil to help it move, be careful to avoid the stream of hot oil. It should take no more than ten minutes to drain the old oil completely.
Put the oil pan back on.
After you have checked that the oil has fully drained, it is time to put the oil pan back on. Put the plug bolt back in the pan (you may want to replace its washer while it’s off, too), and then screw the assembly back together.
Find the oil filter.
Next, open up the hood and find the oil filter. This is a round canister that will be screwed against the engine, about 4 to 5 inches deep. It is usually found underneath the bonnet but can sometimes be found beneath the car.
Now change the filter.
Loosen the filter with the correct sized spanner, and then remove it. Be careful to ensure that you do not drip any oil. Replace it with the new one, making sure to smear the new filter’s rubber seal with a small amount of oil before re-attaching it. Use your hand to tighten it in as the spanner can apply too much force for this part.
Time to refill.
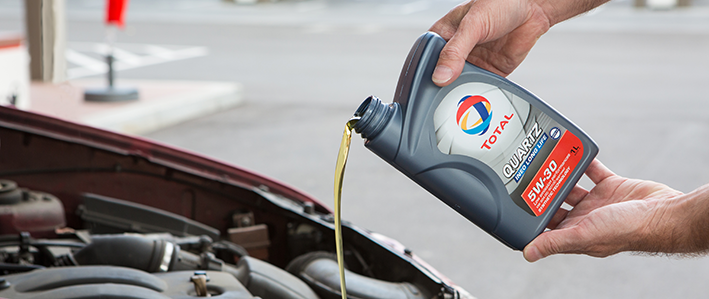
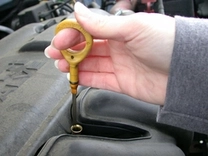
Before you refill, ensure that you have checked the recommended amount of oil and weight for your type of vehicle. Find the oil cap under the bonnet of your car and proceed to put in the fresh oil to the required level. Replace the cap and check that your oil levels fall between the Low and Full marks on the dipstick. When you start your car, your oil warning light should go out after a second or two.
Check your levels.
Keeping an eye on your oil level and keeping it topped up is just as important as changing the oil at the correct times. It isn’t unusual to find that your engine has used up to a litre of oil per month. Engine oil is a product you really do need to check on a regular basis, at least every 2 weeks would be our recommendation. If an engine runs low on oil it can cause all kinds of damage in a very short amount of time so it’s important to be vigilant. Changing your engine oil is a simple, yet essential task. By following these quick, easy steps you will become an expert in no time!
In all cases, you should ensure you are using a top quality range of oils for your engine. To find out the most suitable Total/Elf engine oil for your vehicle use our Which Oil? Online app or speak to us here at Finol Oils where one of our specialist team members can advise you on the best product for your needs.


